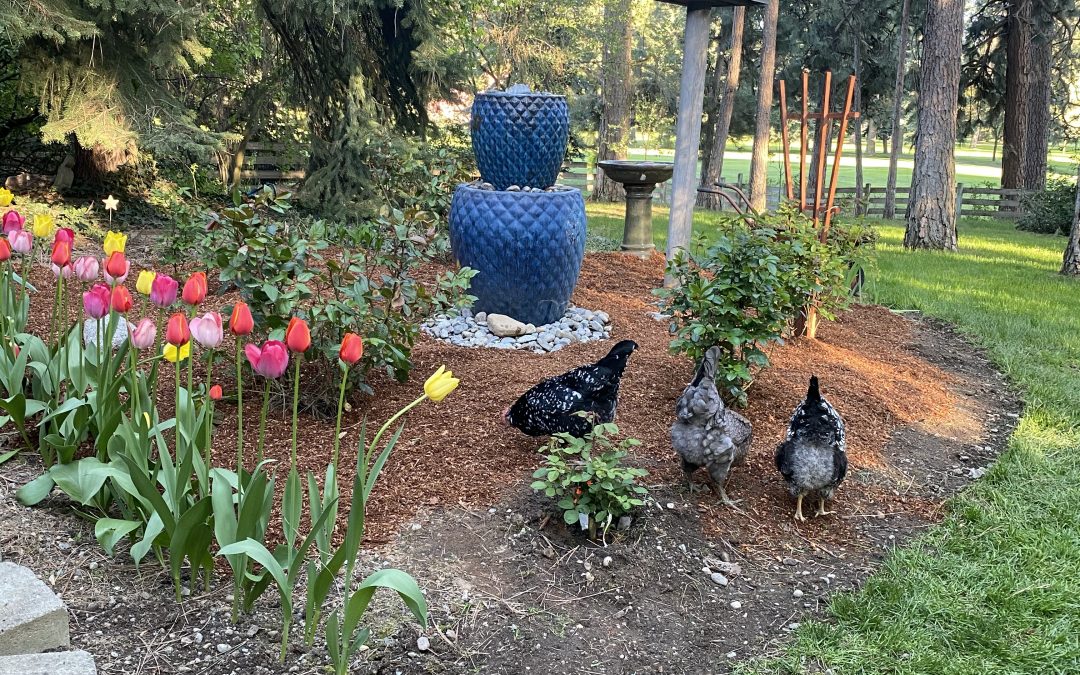
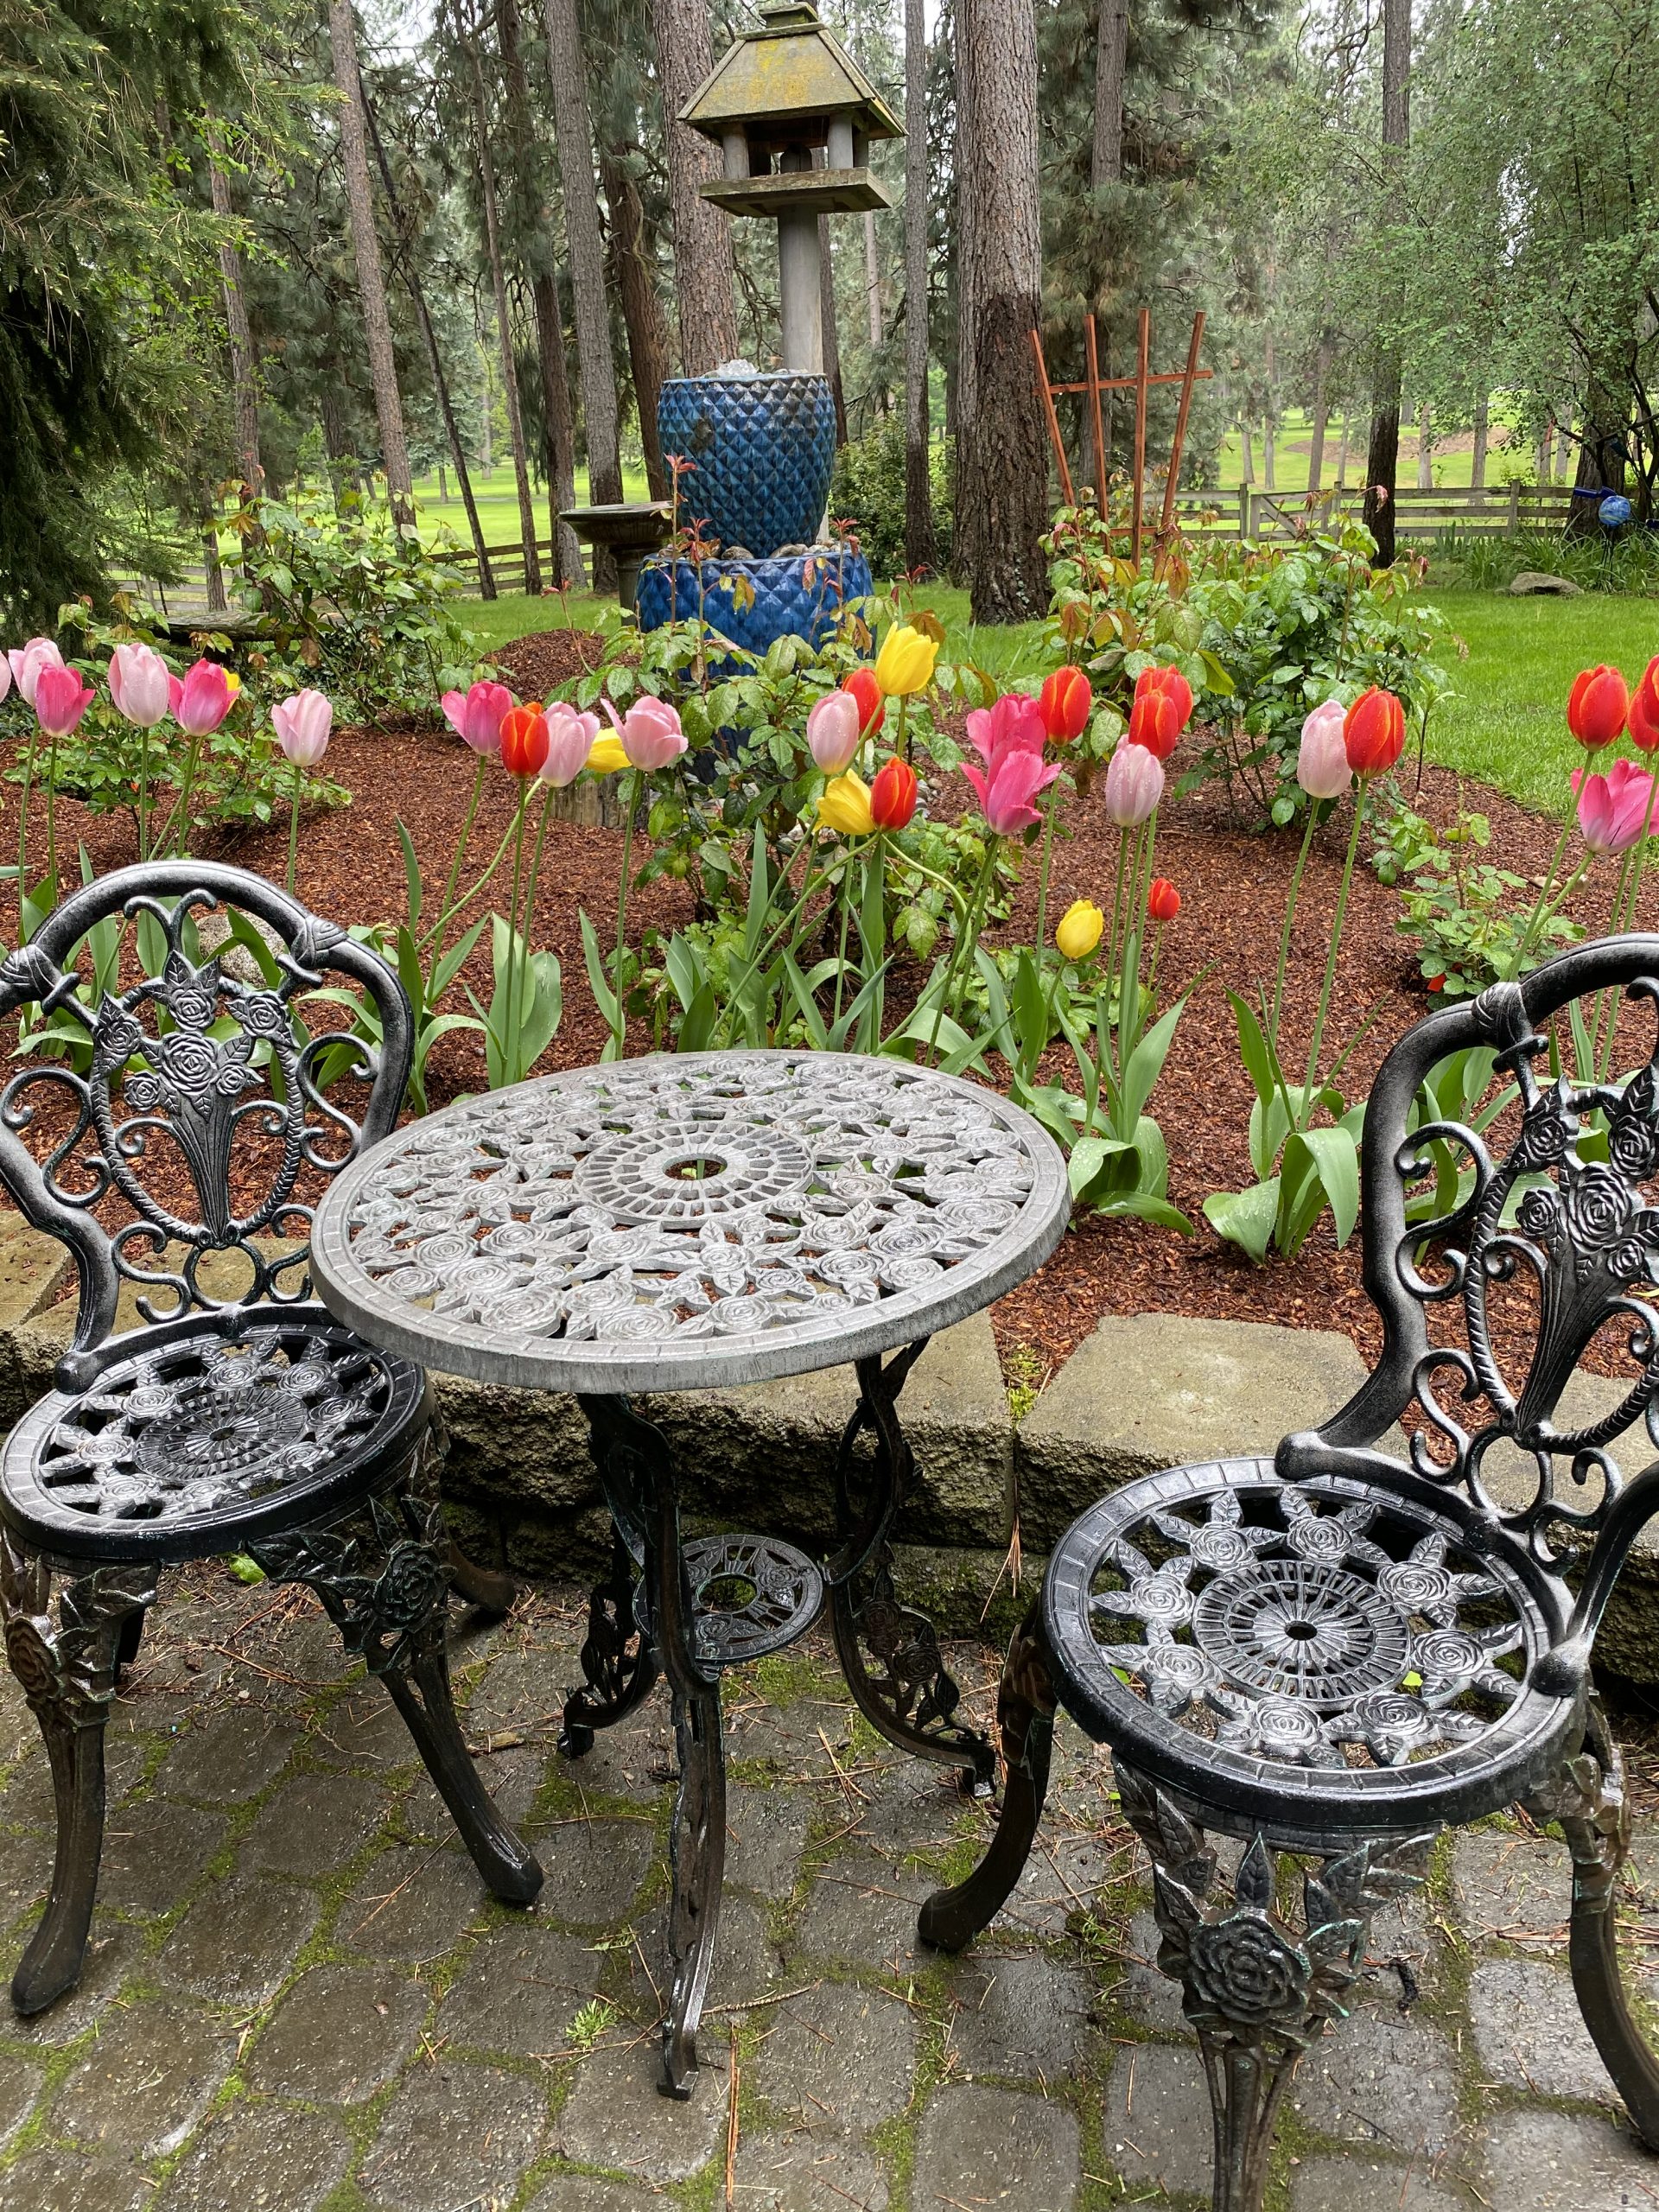
We’ve been wanting a water fountain to add to our small rose garden in the backyard and to create a pretty bubbling sound to block some of the road noise we can still hear. We wanted a specific color to match some of the other outdoor decor and didn’t want to spend a lot of money so we decided to build one ourselves. At our other house, we had a large water feature and a bubbling rock but those were quite expensive and we were going for a more simple, portable look.
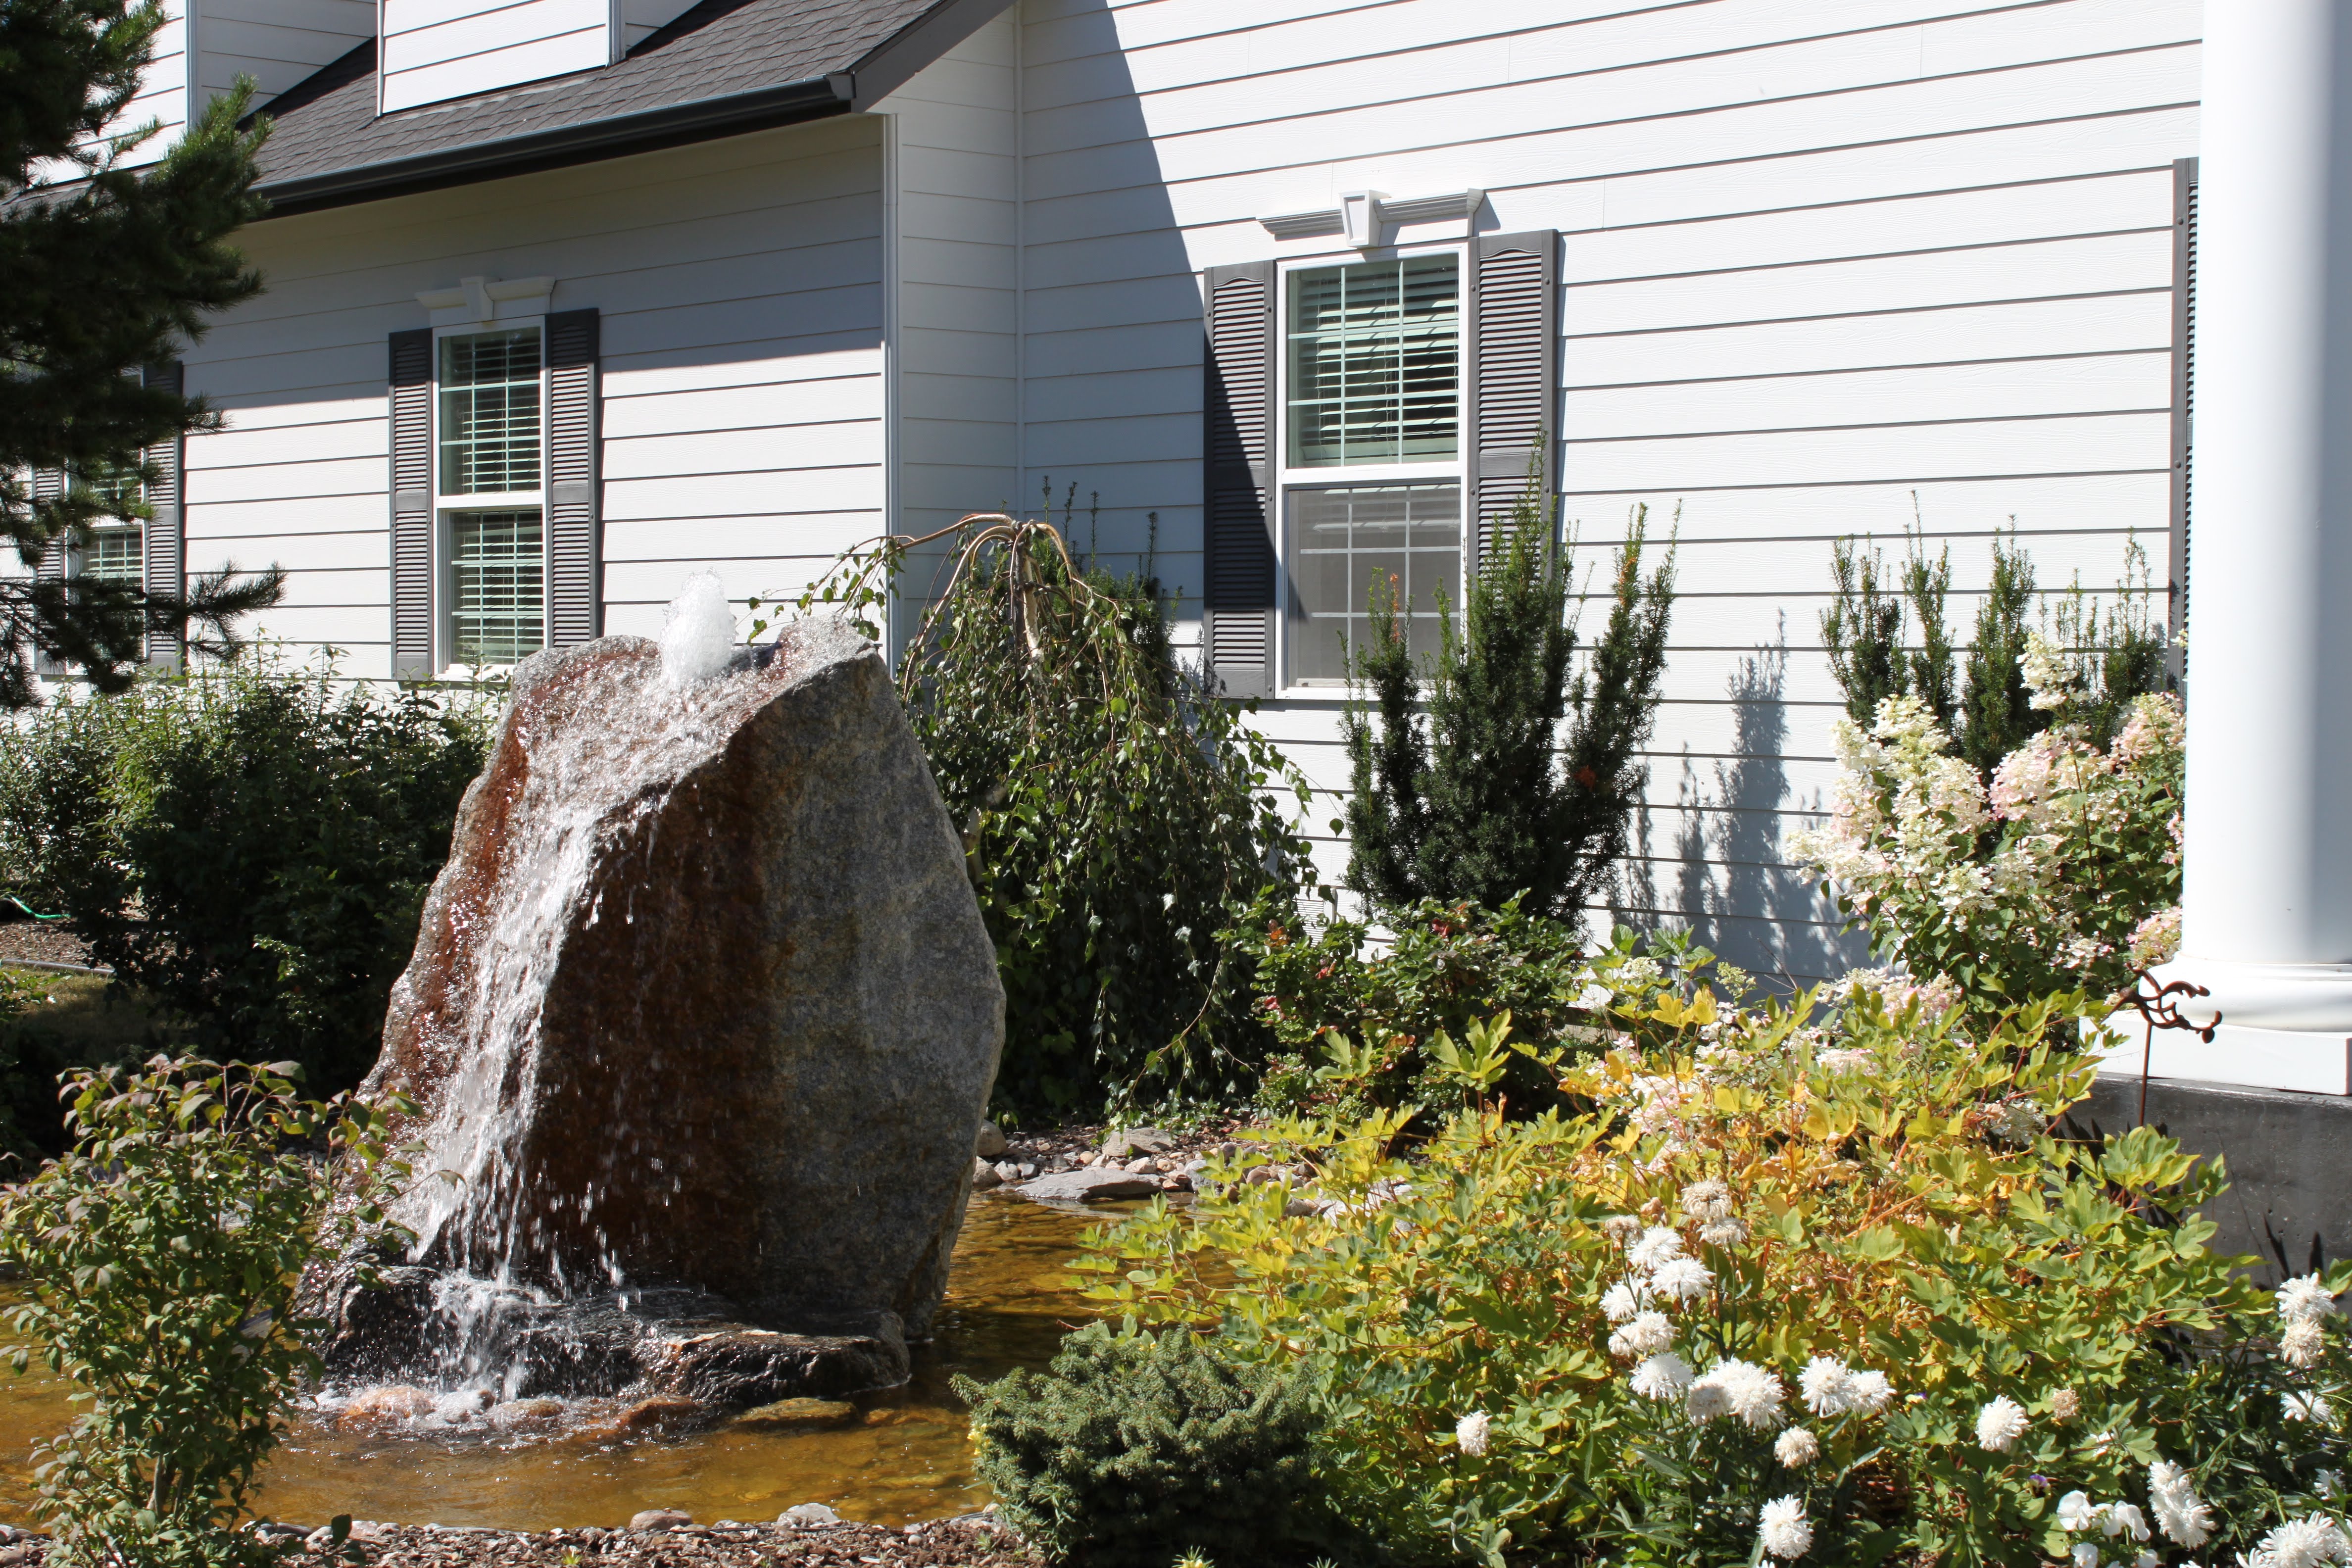
This was our 1500 pound granite bubble rock
Here’s how to create your own fountain:
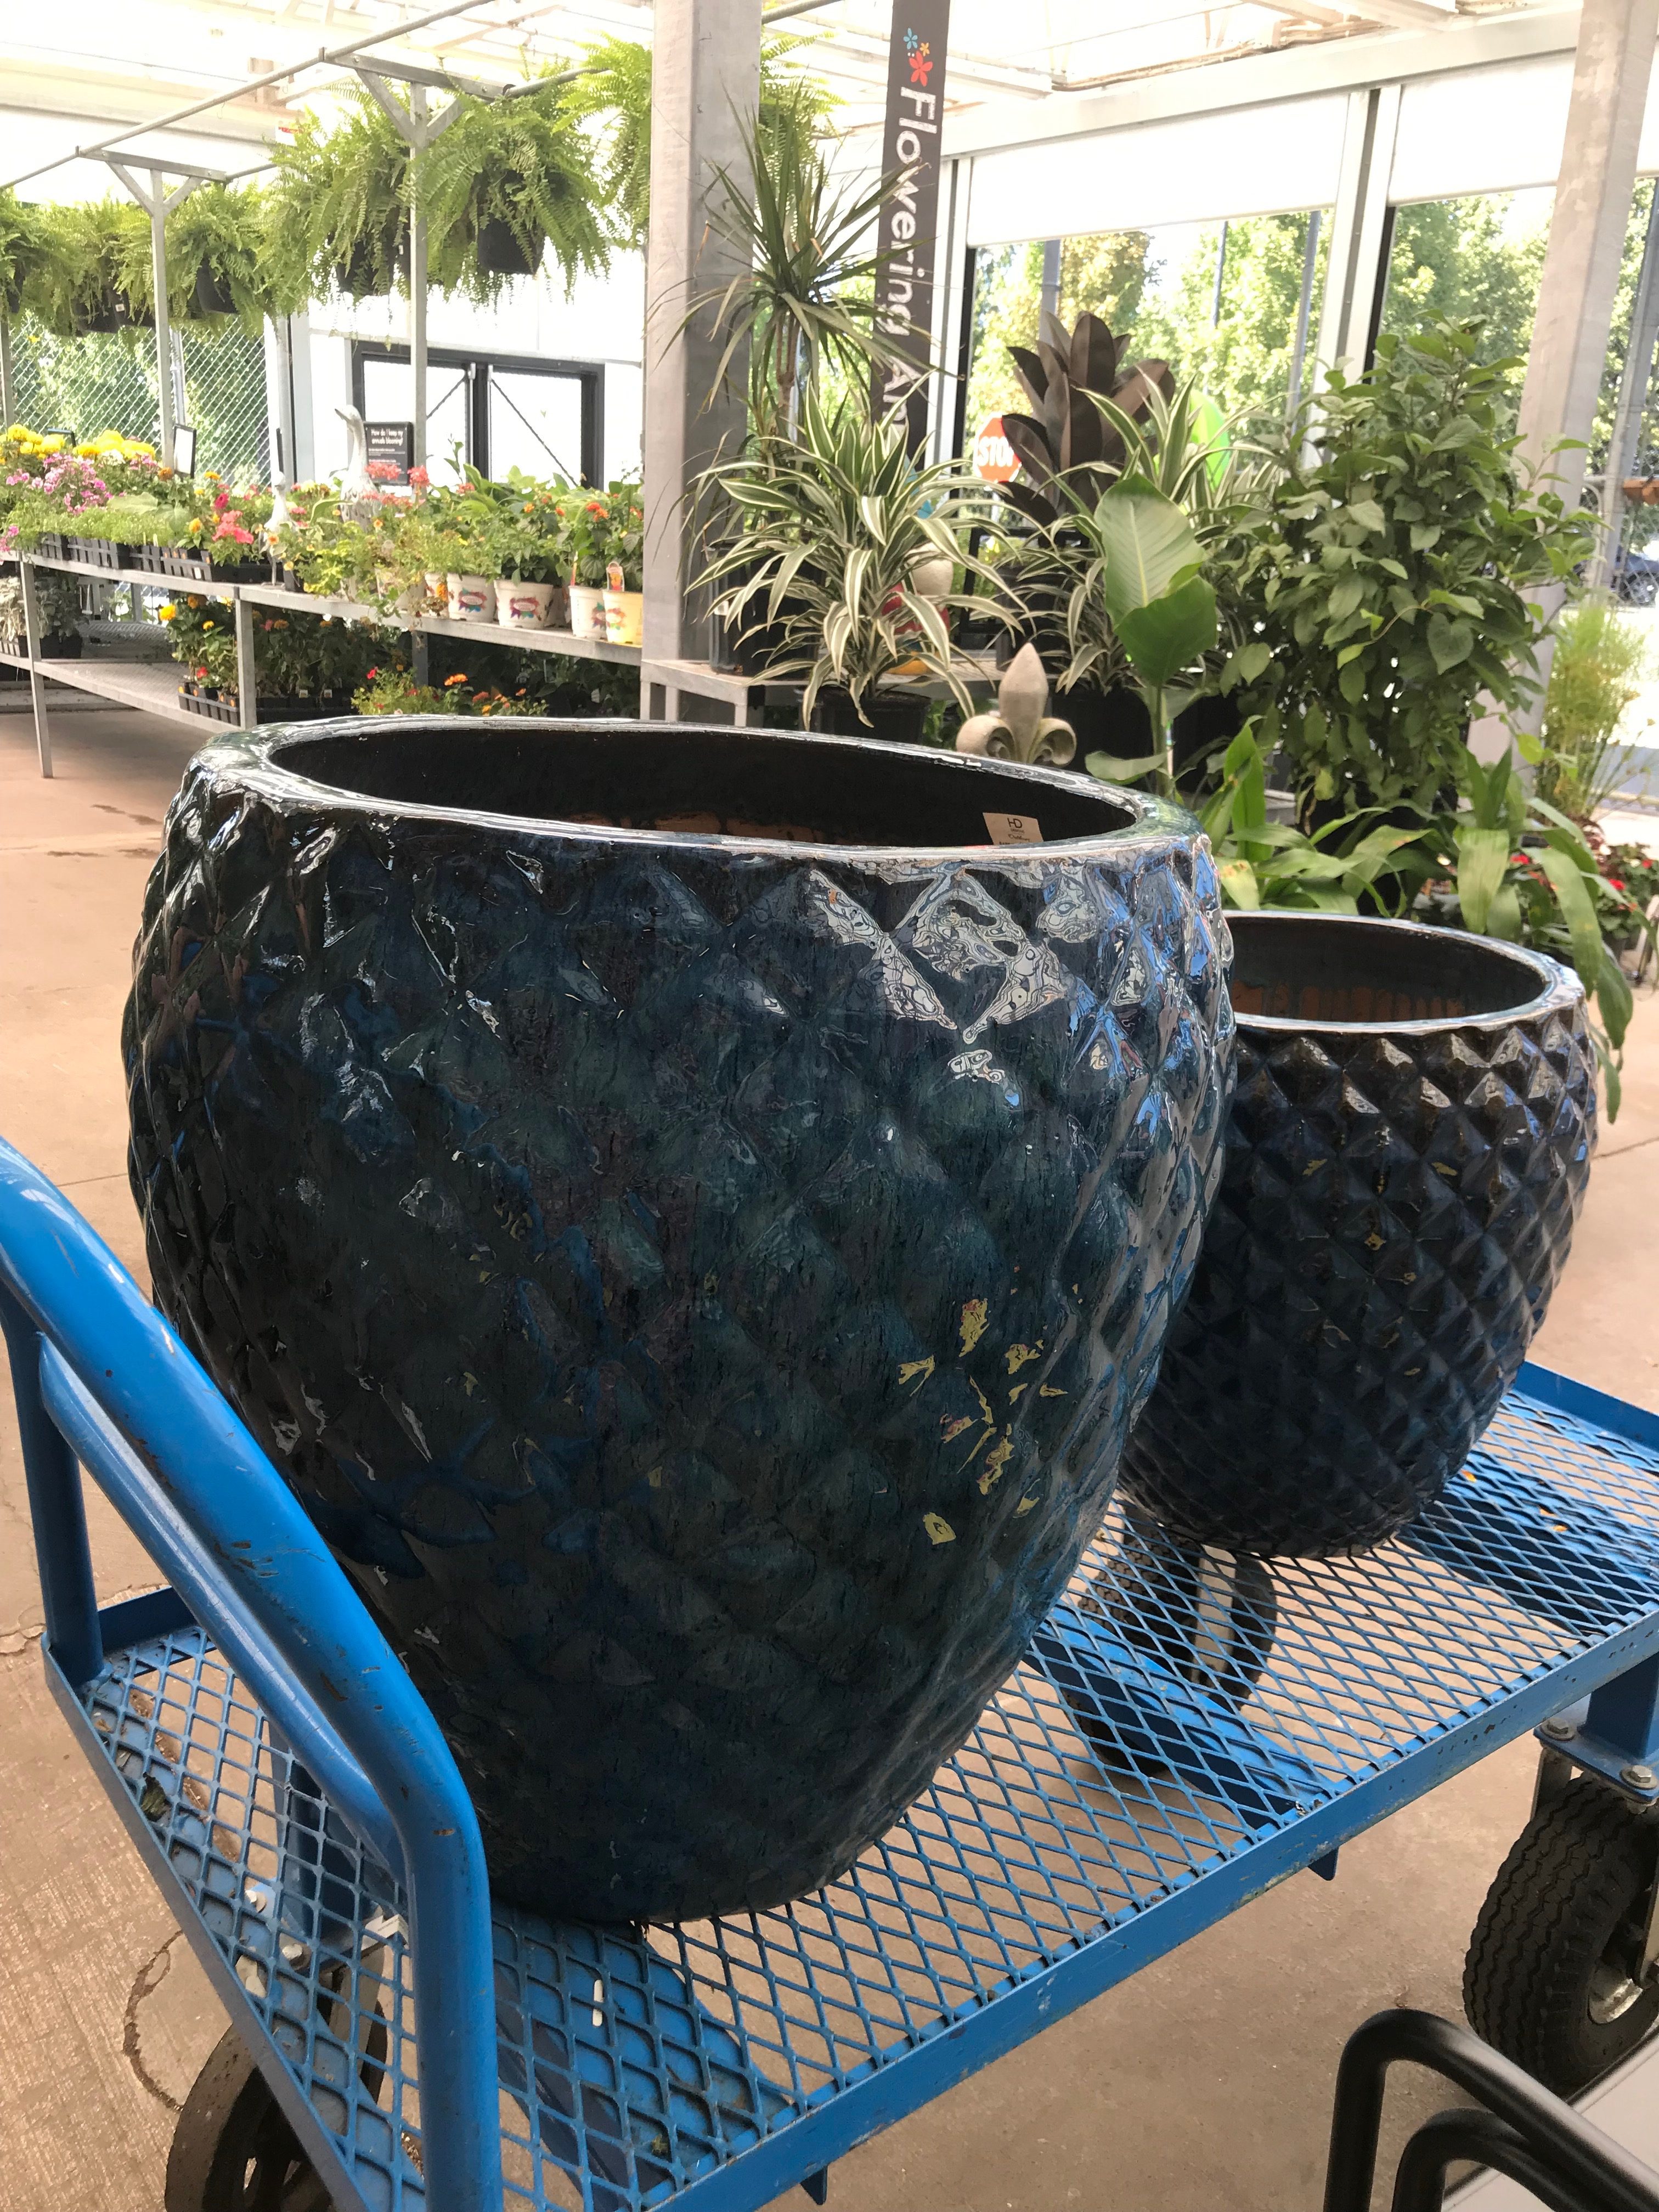
Choose Your Pots.
We purchased 2 large pots (one about half the size of the other) from our local Fred Meyer (a Kroger store). We lucked into a 40% off garden pots sale so were able to get them for $65.99 and $39.99 (originally 129.99 and $79.00). Our large one is 24″ high and the smaller is 18″ high but you can choose your sizes based on your preferences. Similar pots can be found on Amazon.
Gather Your Supplies.
- 2 pots
- a submersible fountain pump, a piece of hose and if you want, an attachment for a fountain spray
- a 5-gallon bucket
- an outdoor plug with a GFCI
- aluminum L-brackets to fit over the bucket (these will carry the weight of your top pot and the water in it but see note below).
- Silicone caulking
- Pavers
- rock of varying sizes
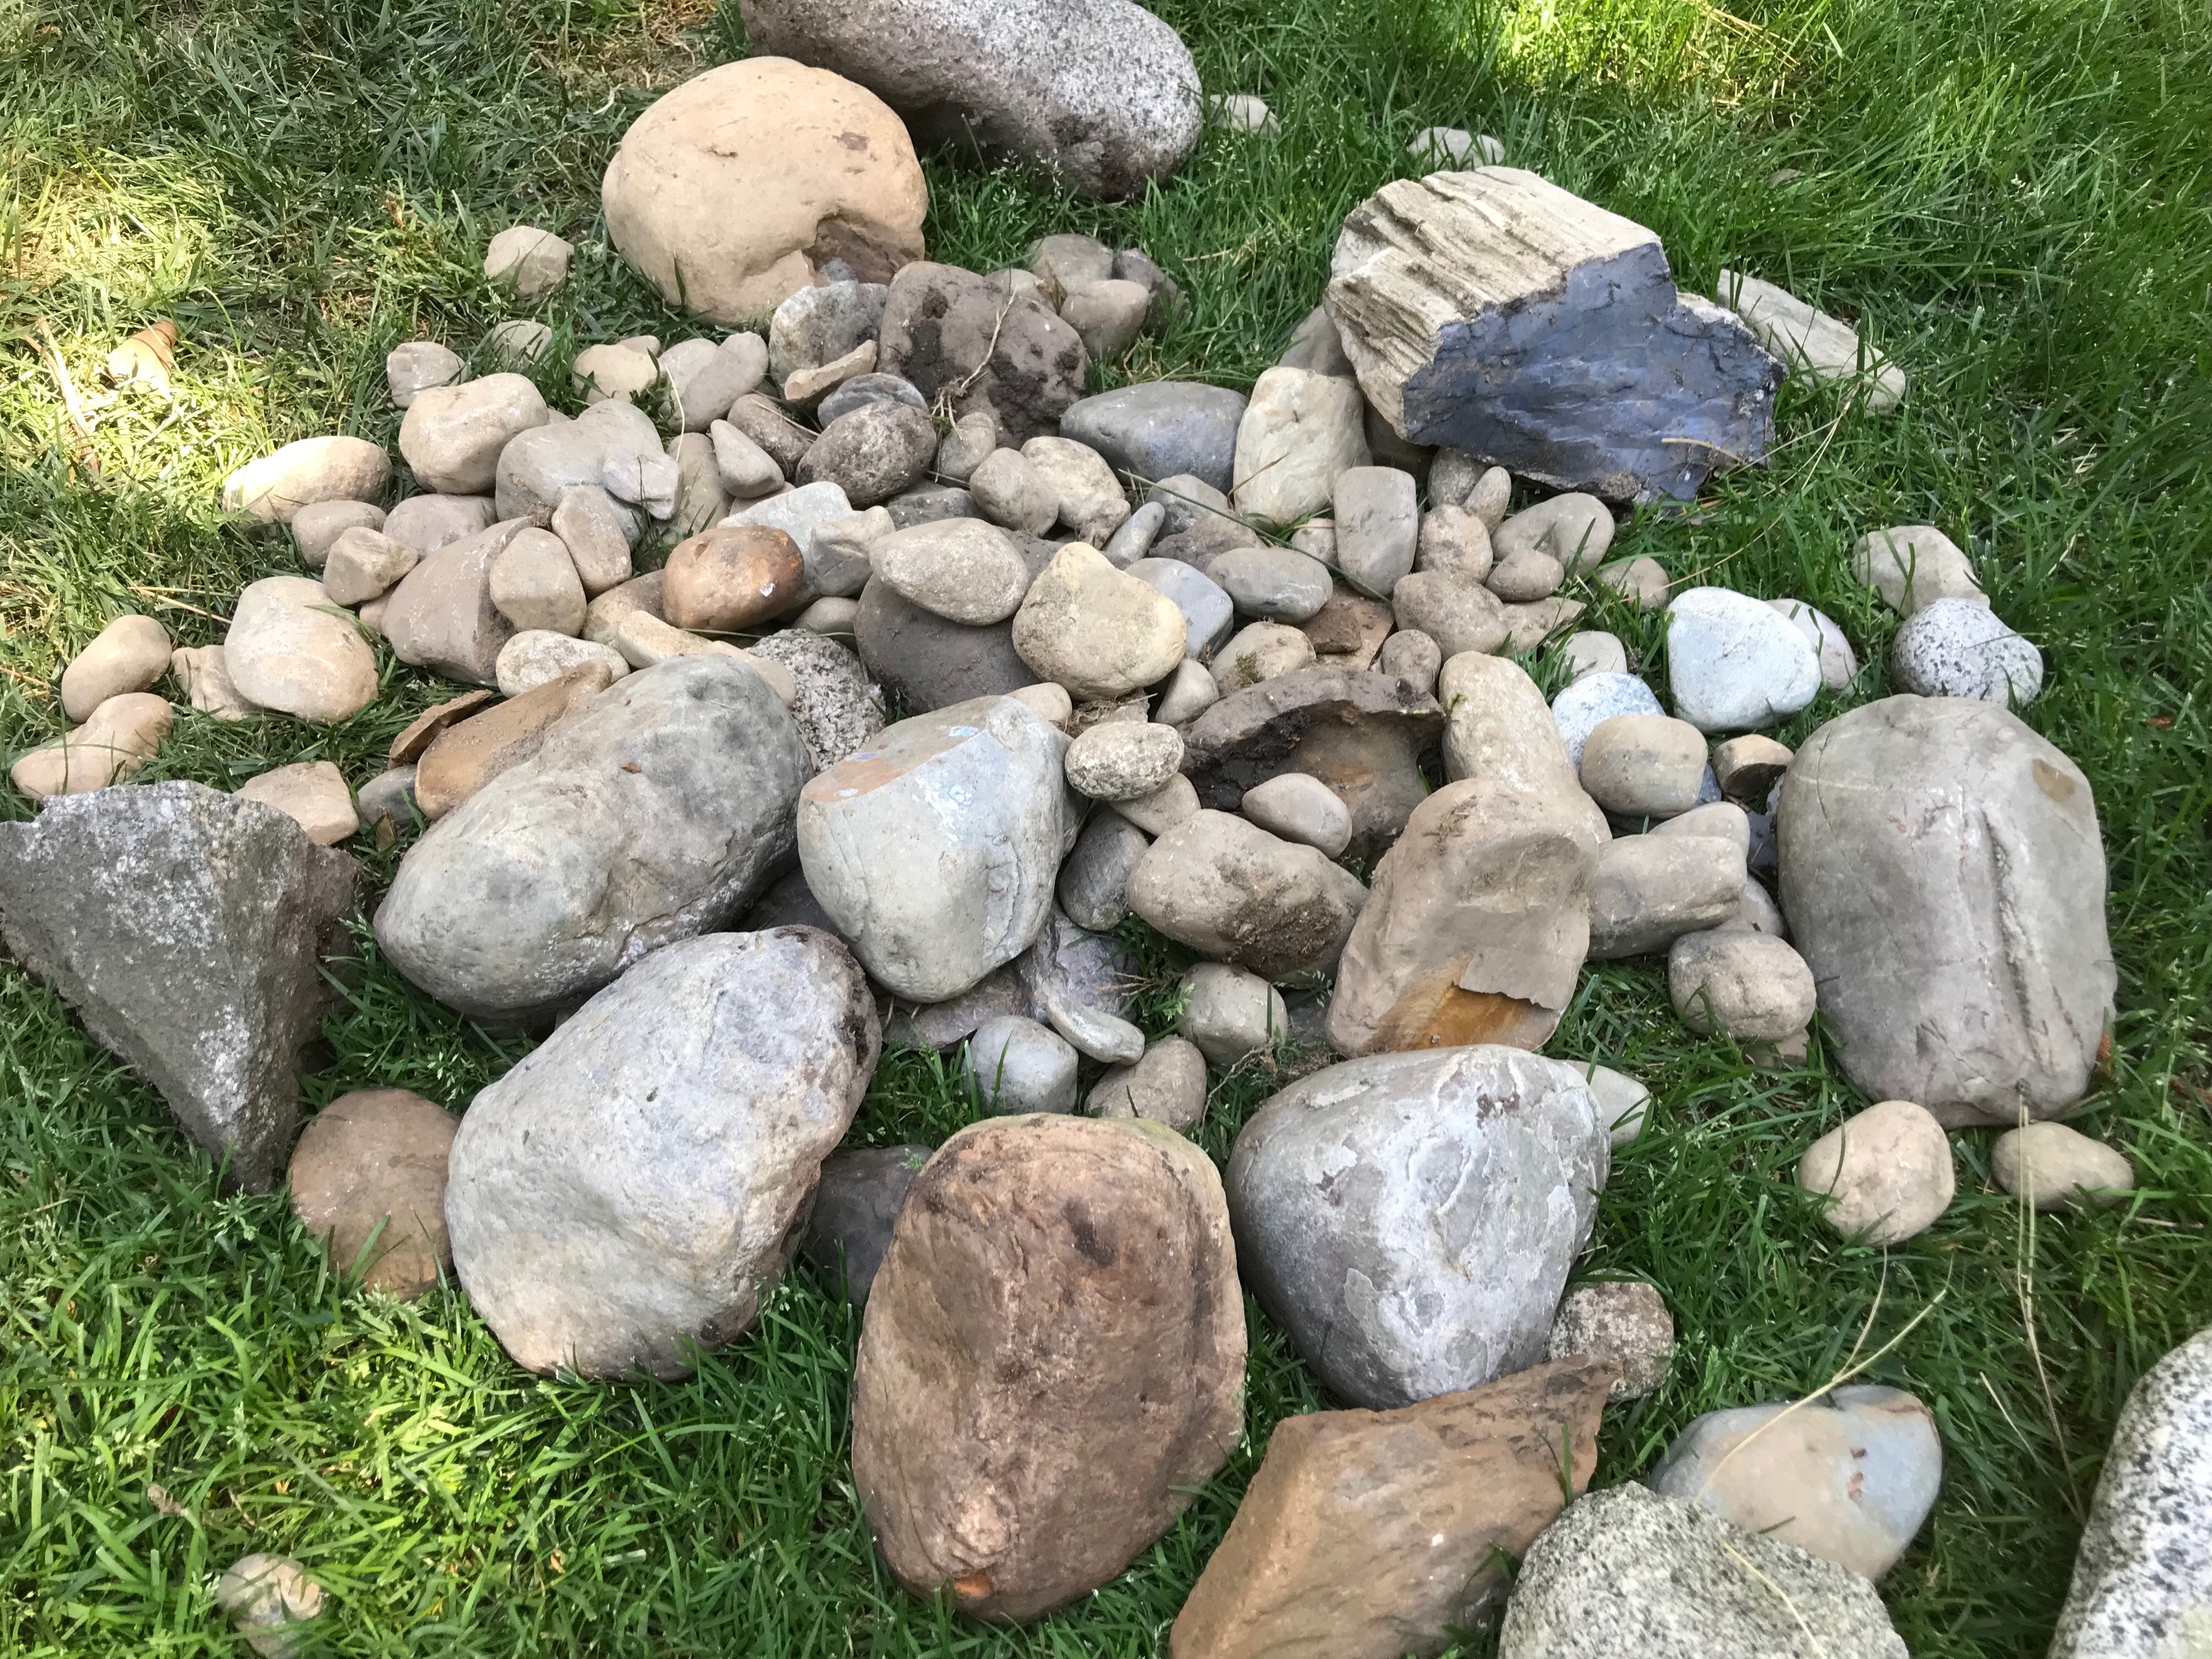
We found all of these in our yard!
Run the pump power cord out of the hole of the bottom pot and then caulk very well to seal from leaking. Remember, this needs to be done when the pot is very dry; no moisture at all. Make sure there is not more cord than necessary inside the post. You may need extra length outside the pot.
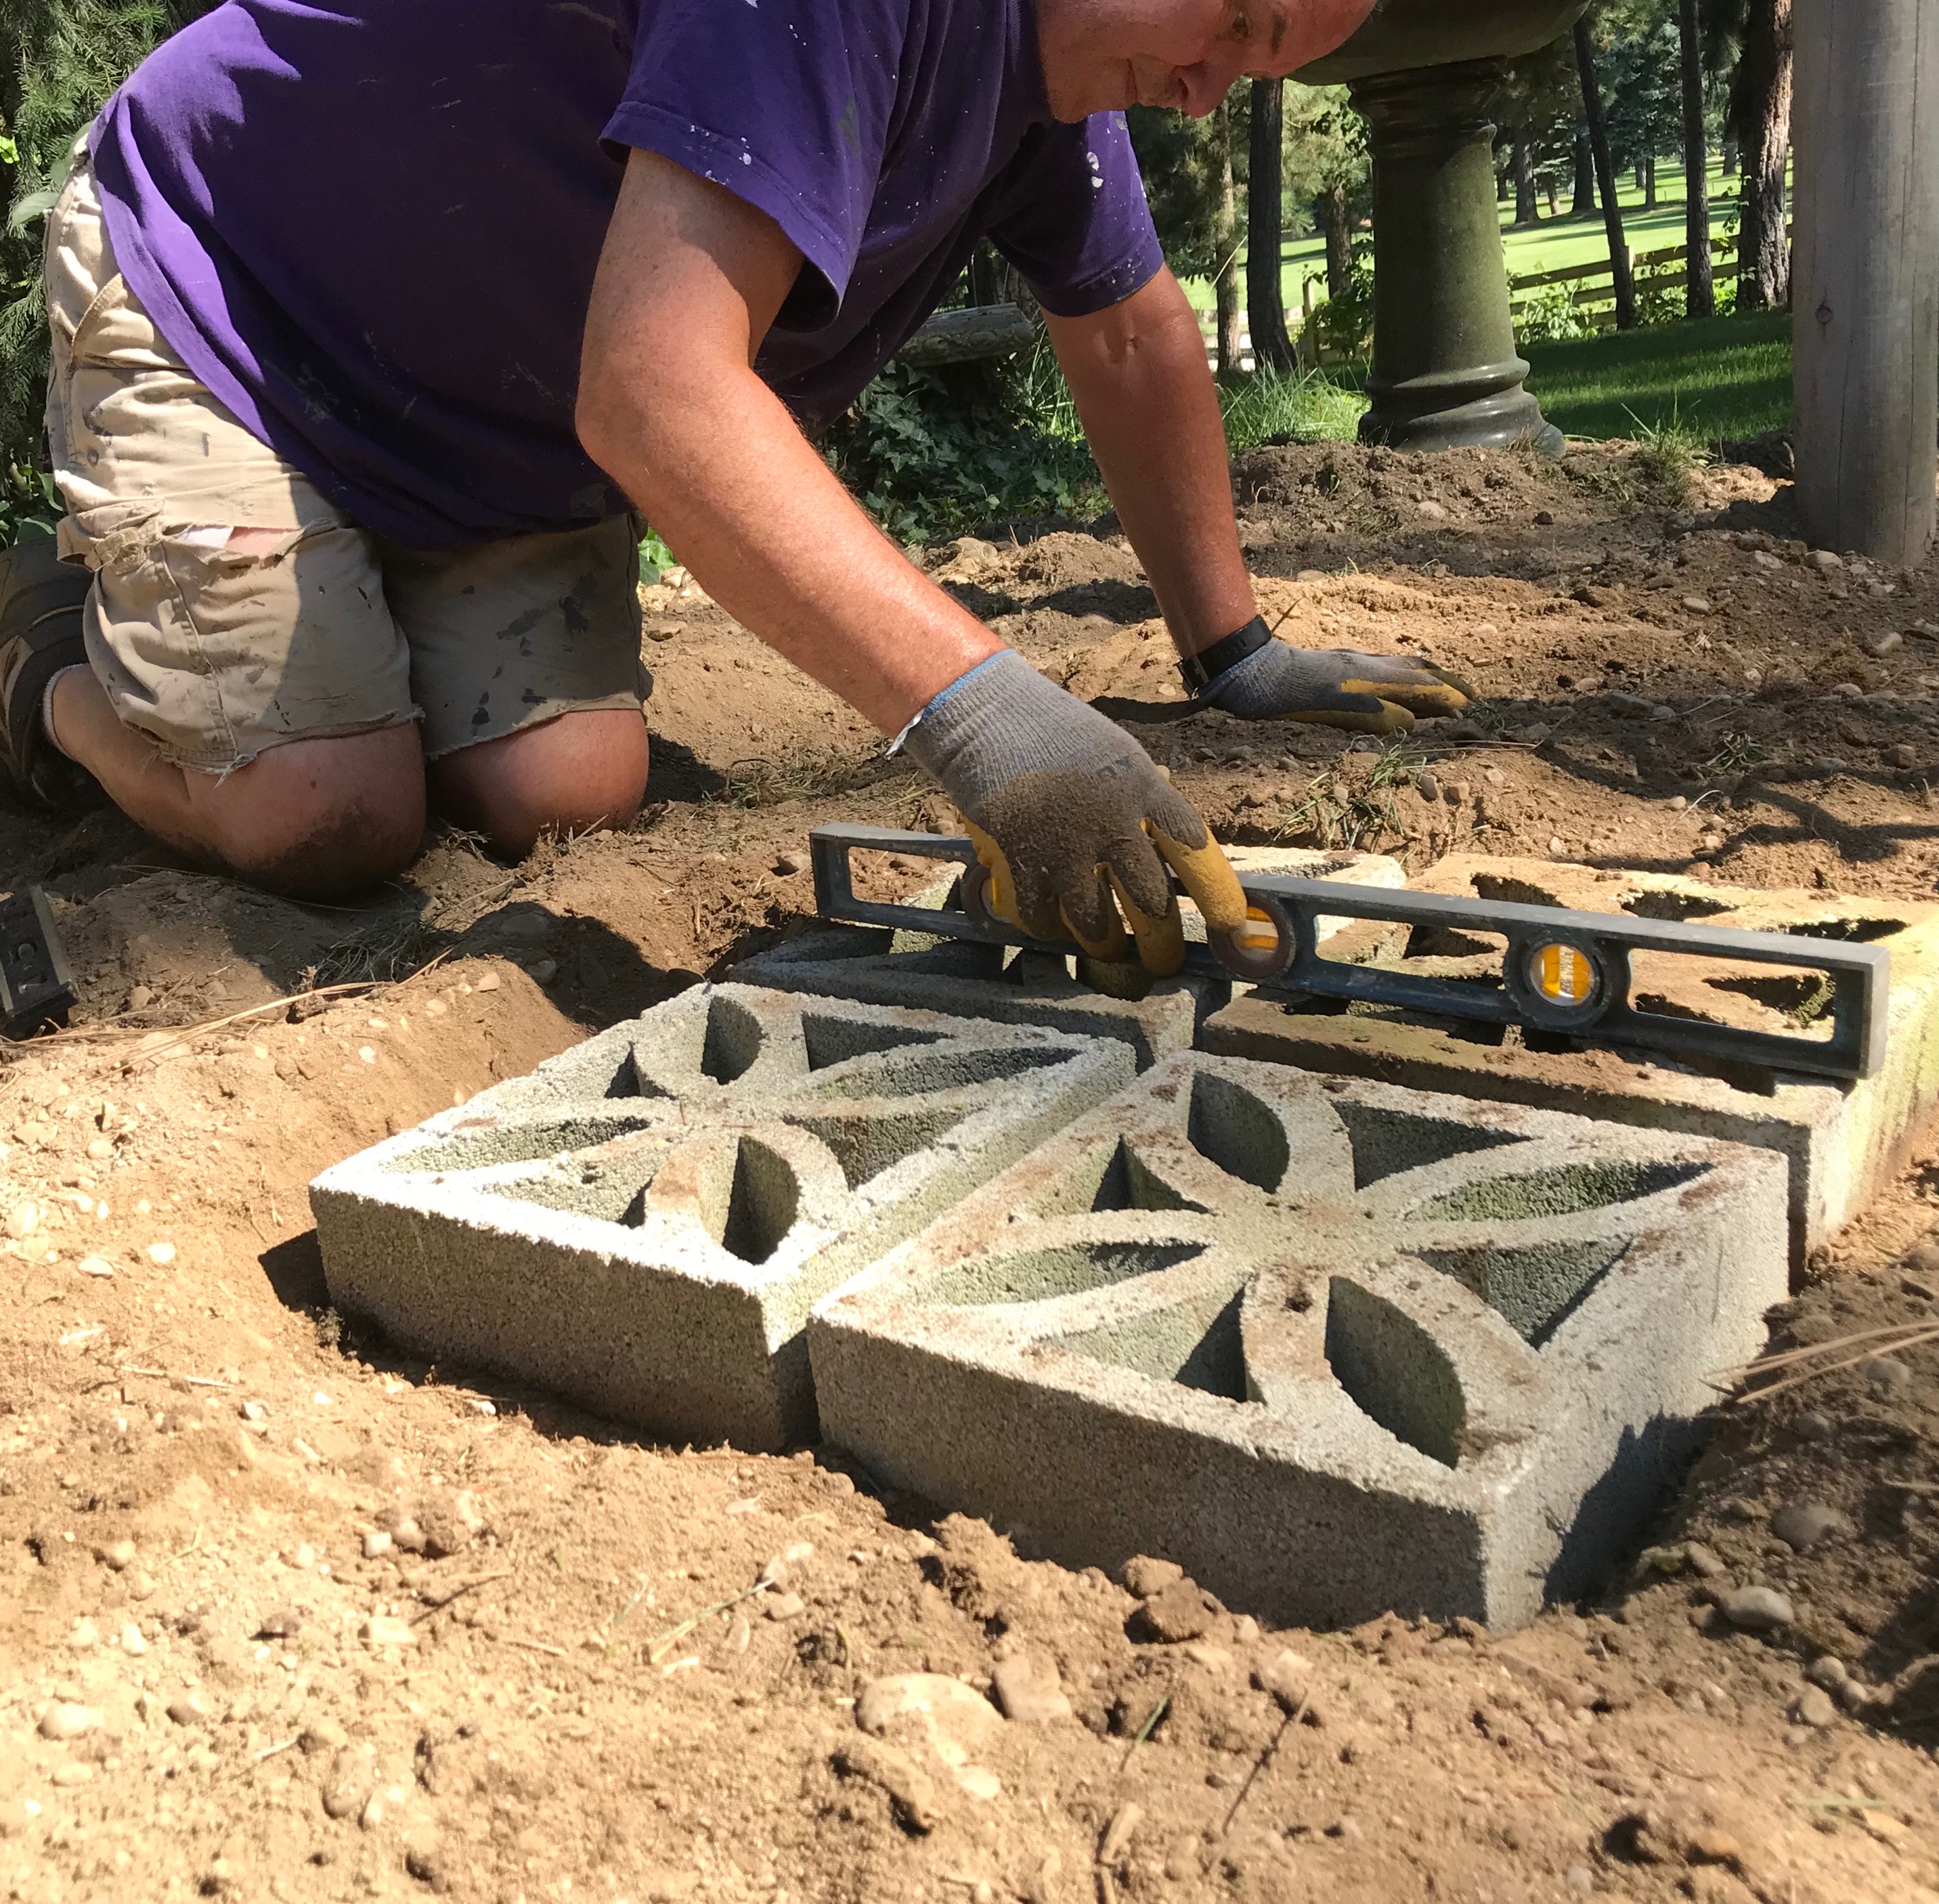
Set and level the pavers while the caulk dries.
The pavers will help to keep the fountain level. We put additional small stones into the spaces of the pavers for more support.
Once your caulk is dried, be careful not to move the power cord too much so as to break the seal. In the bottom pot, place four half bricks in a way that allows the pump power cord to lie in between. Then place some pavers in a way that will allow the pump to sit on them and also be able to place the upside-down 5-gallon bucket on them.
Attach an appropriate length of garden hose to the pump and run it through the hole in the upside-down 5-gallon bucket.
Carefully add filler rocks around 5-gallon bucket to take up space and support bucket.
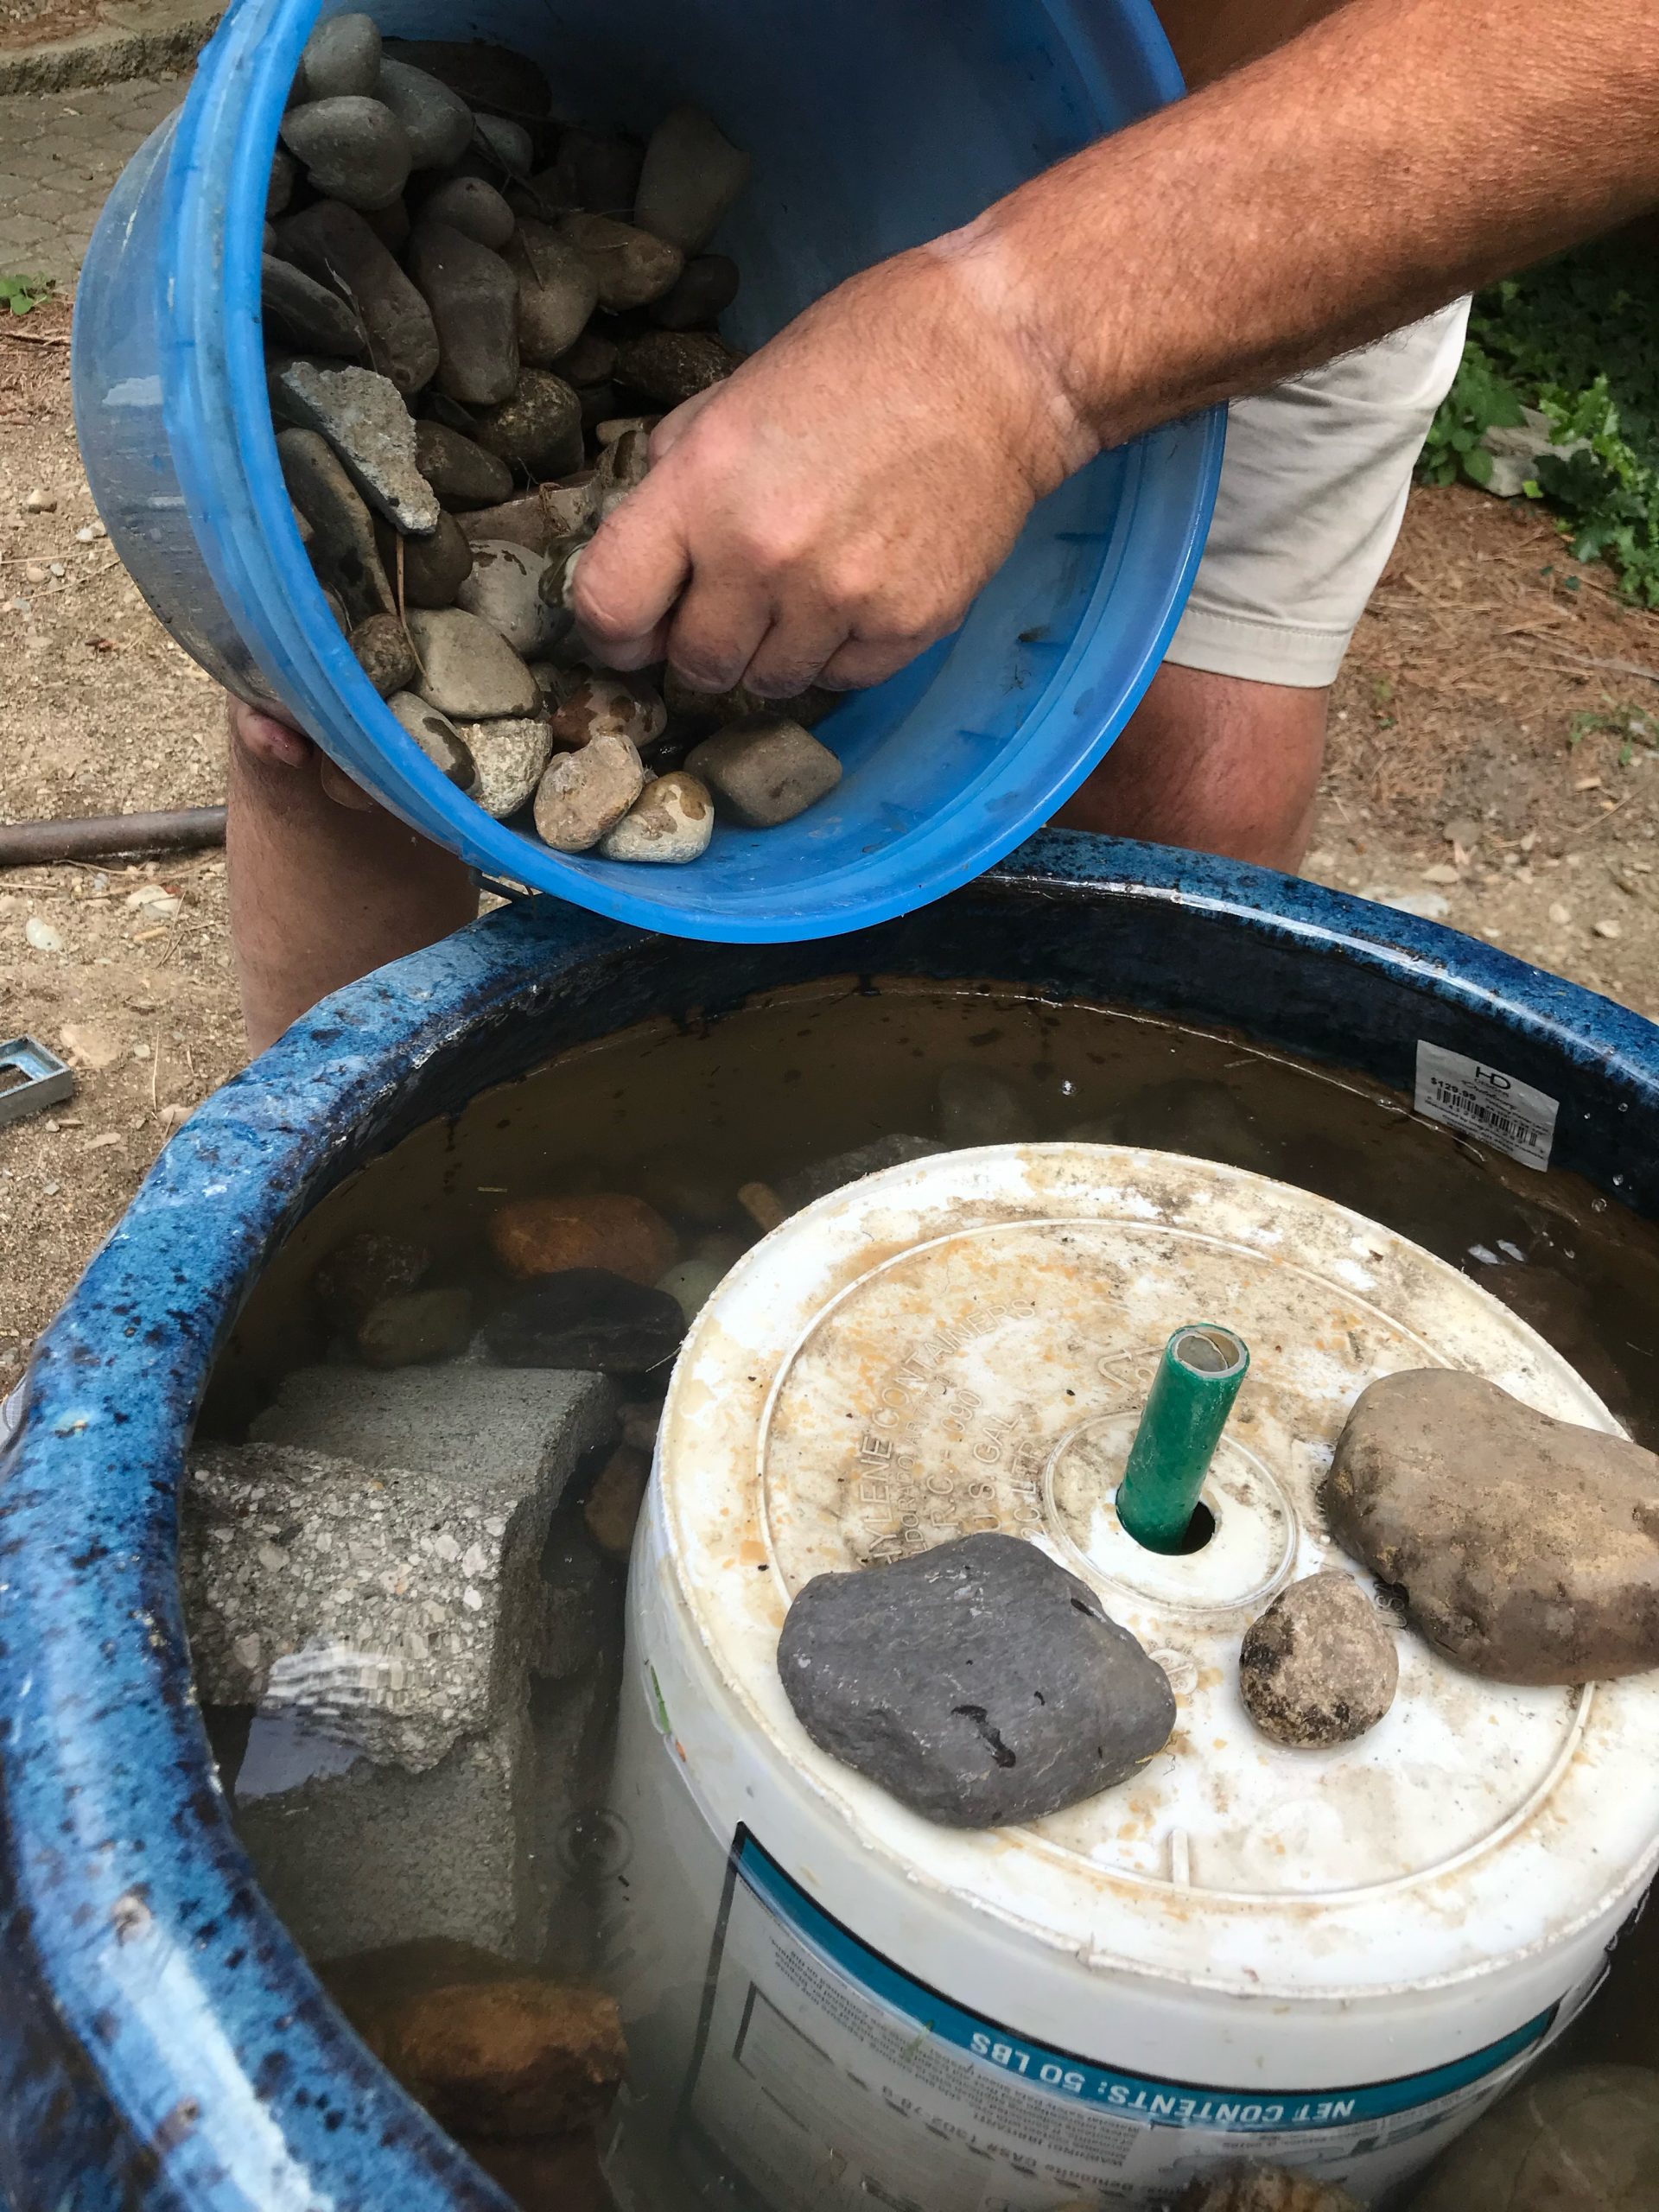
We used additional small stones to support the sides of the 5-gallon bucket.
Connect the top pot to the bottom pot.
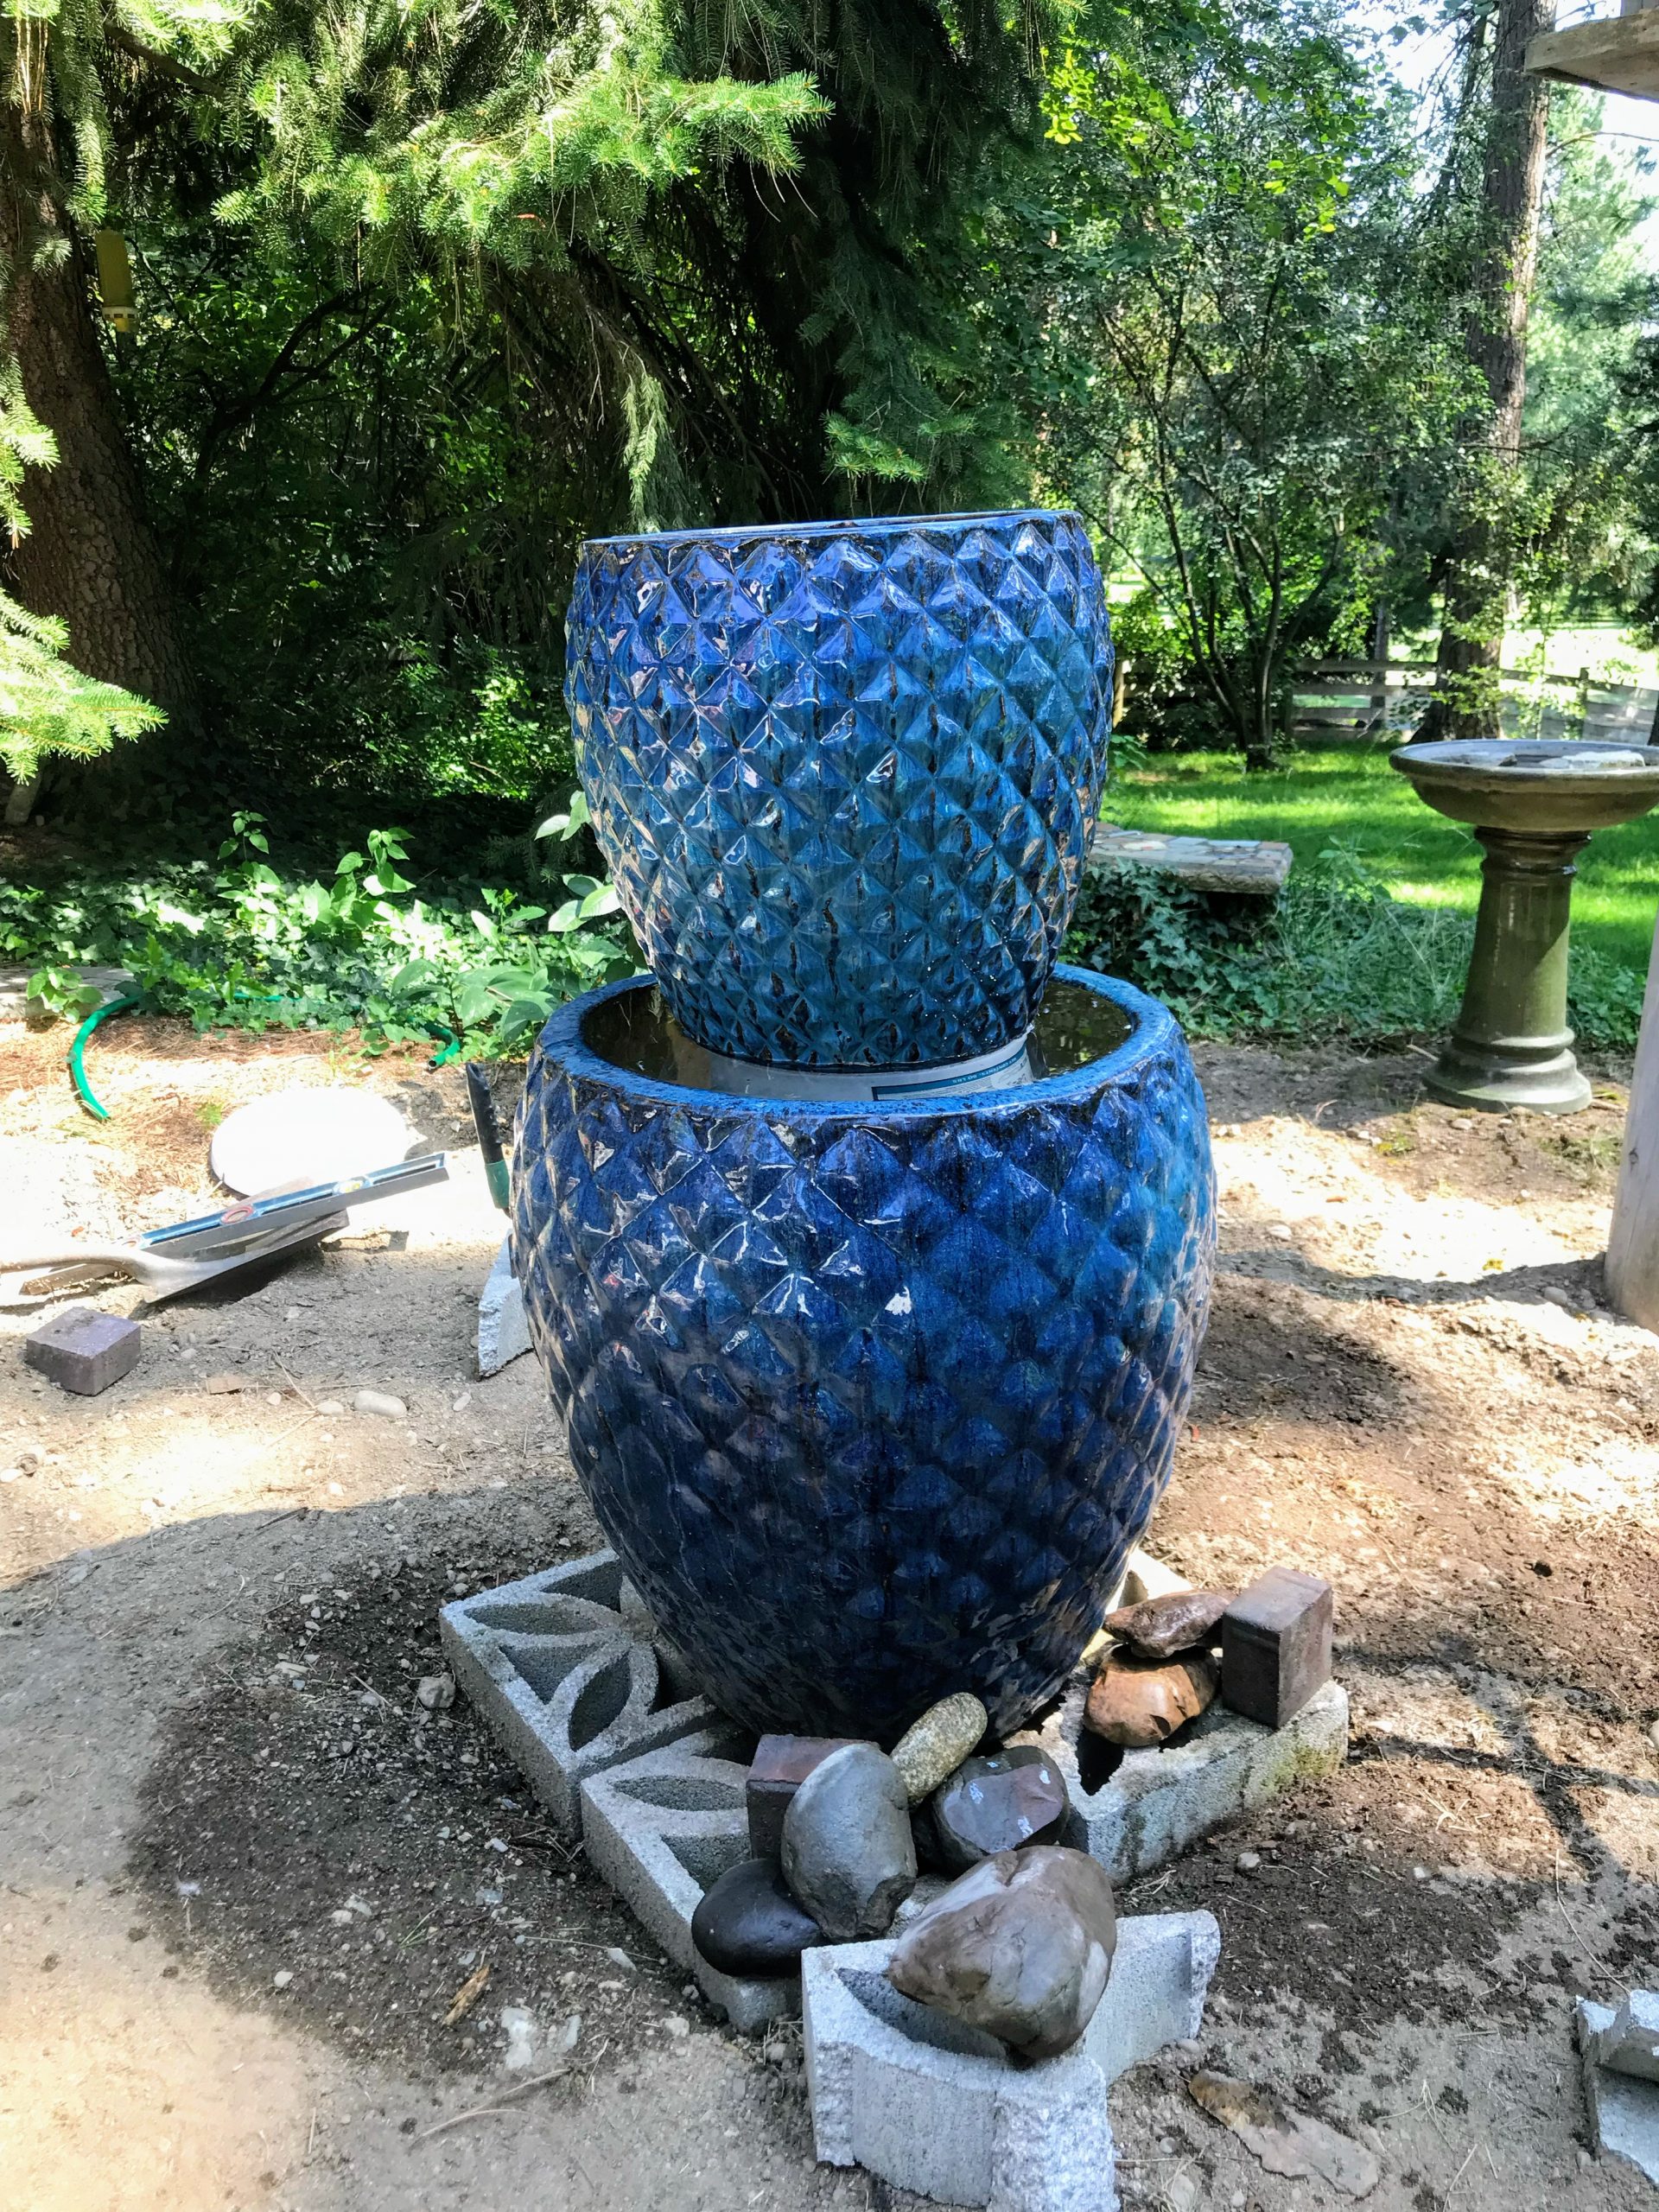
Carefully work the stub hose coming out of the 5-gallon bucket into the hole at the bottom of the top pot. This is not easy. You shouldn’t have to seal the hose into the top pot because it doesn’t matter if a little water leaks into the bottom bucket.
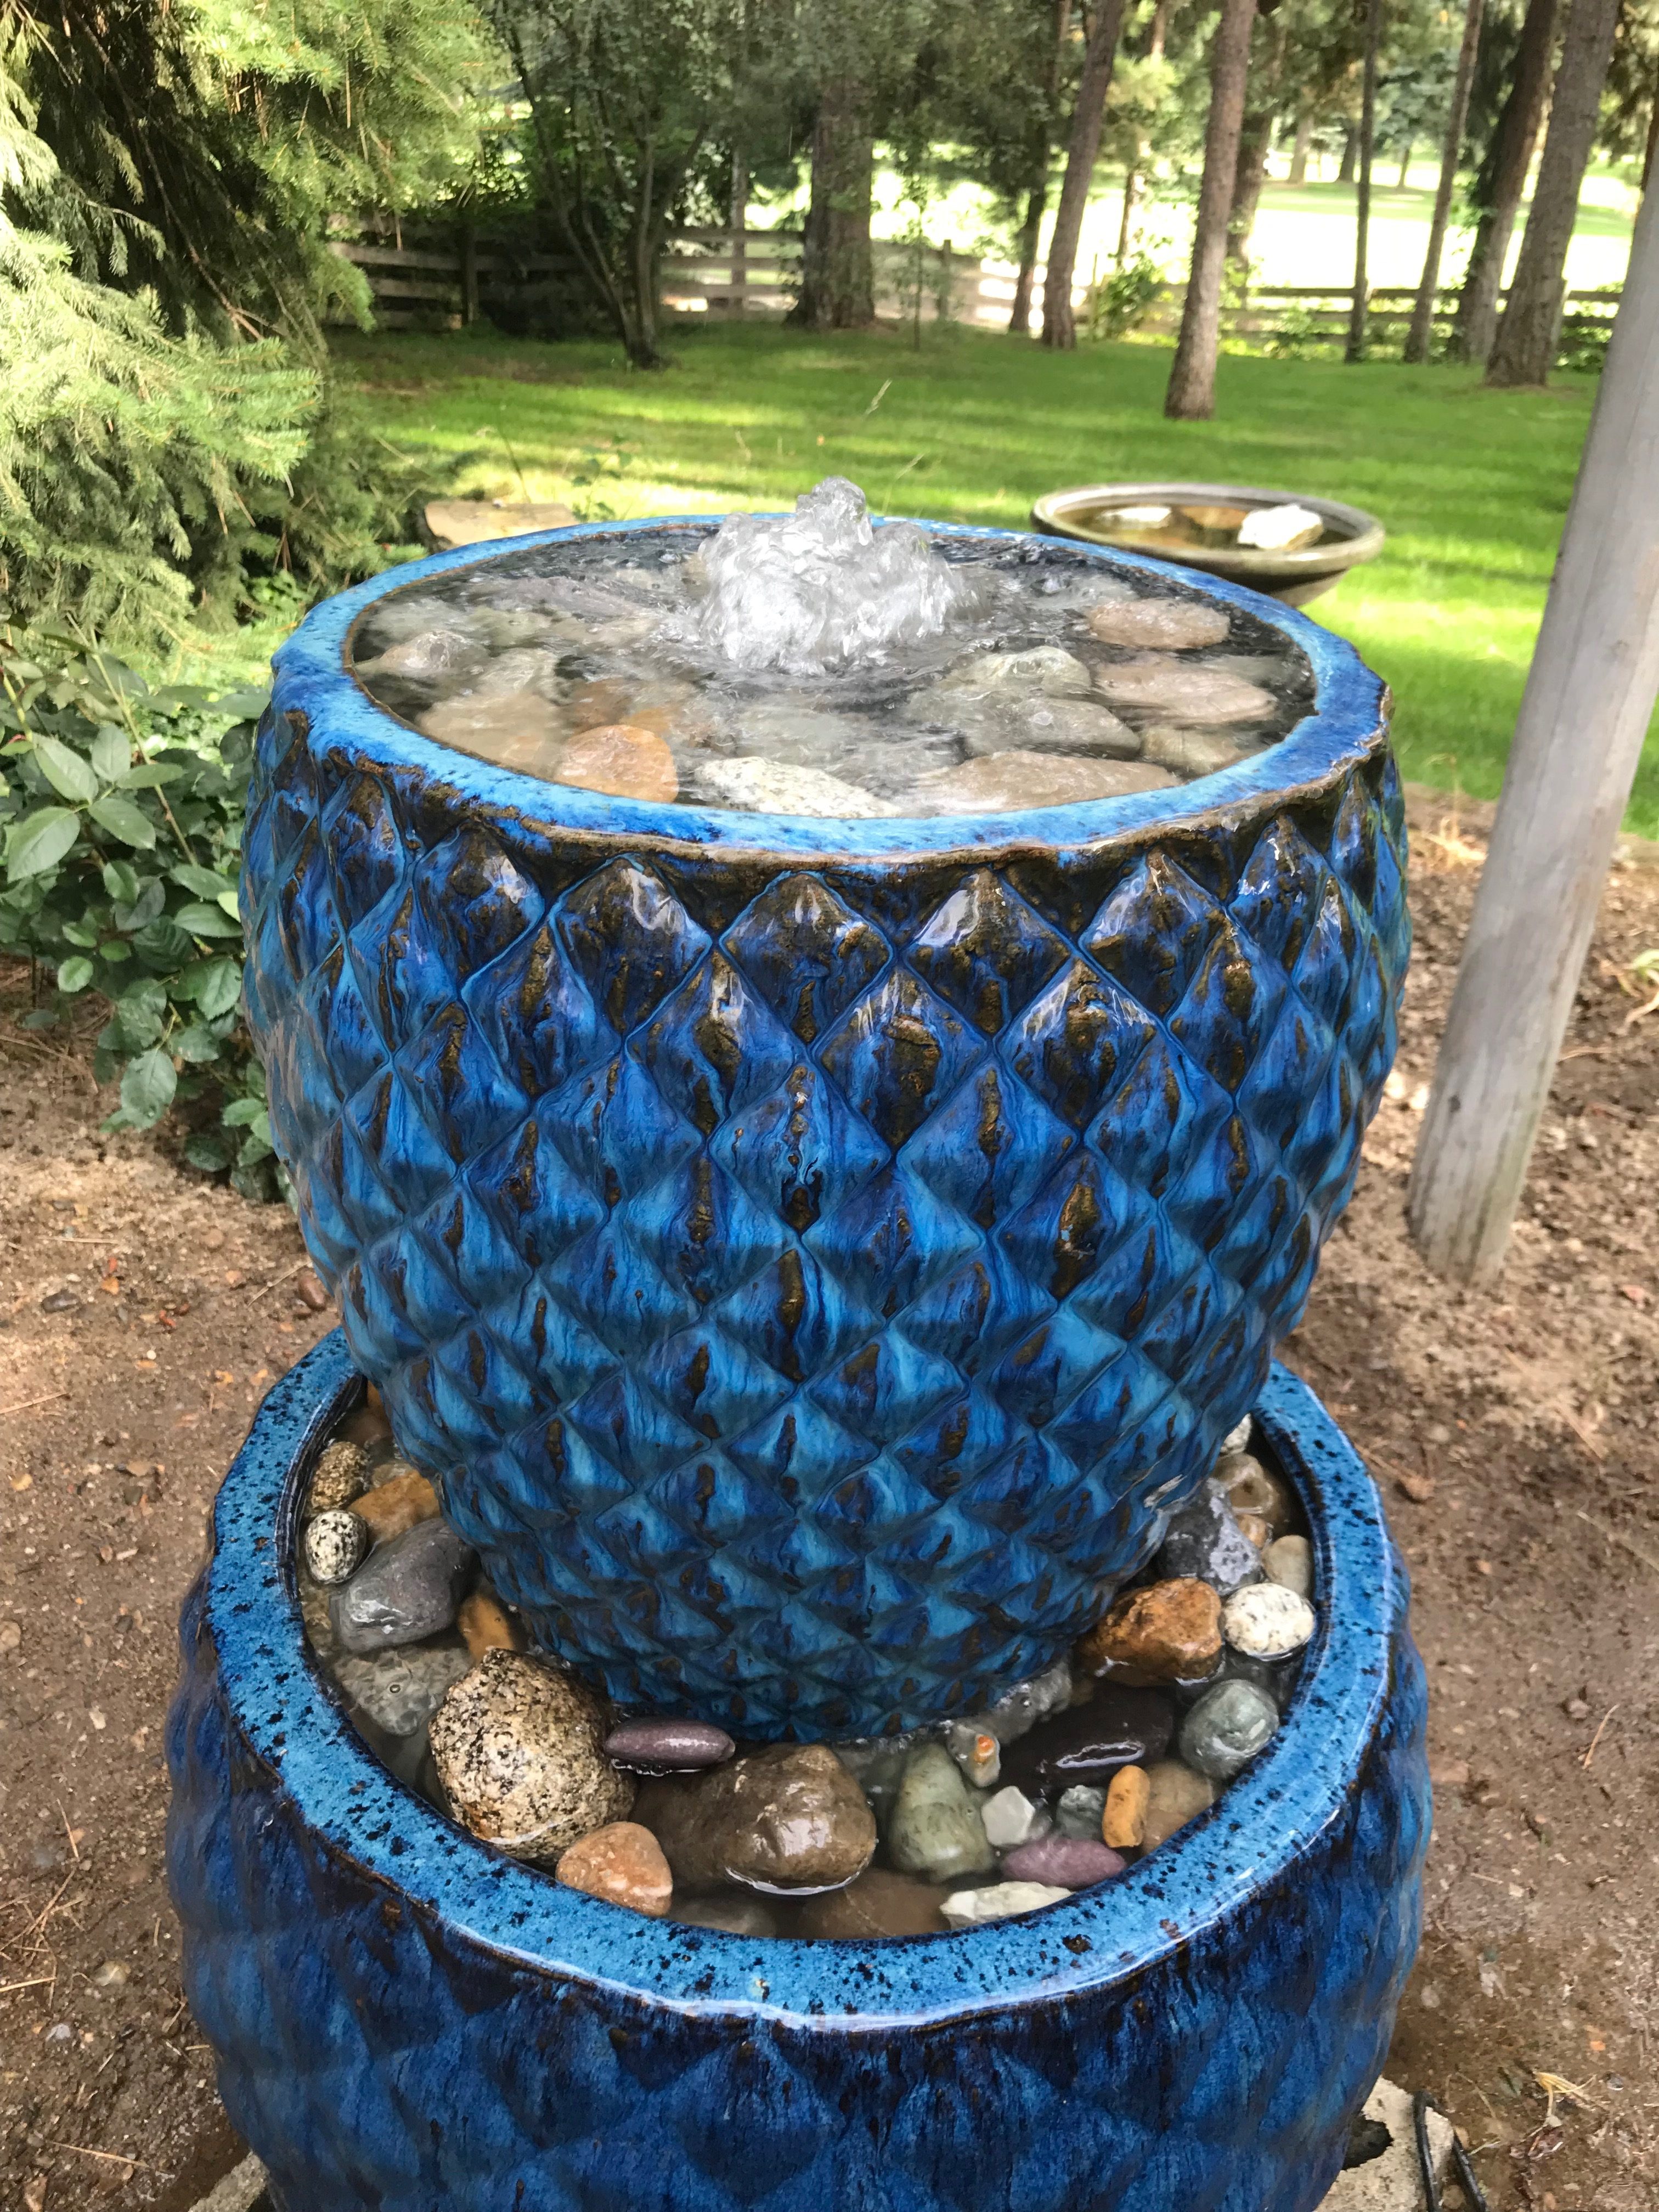
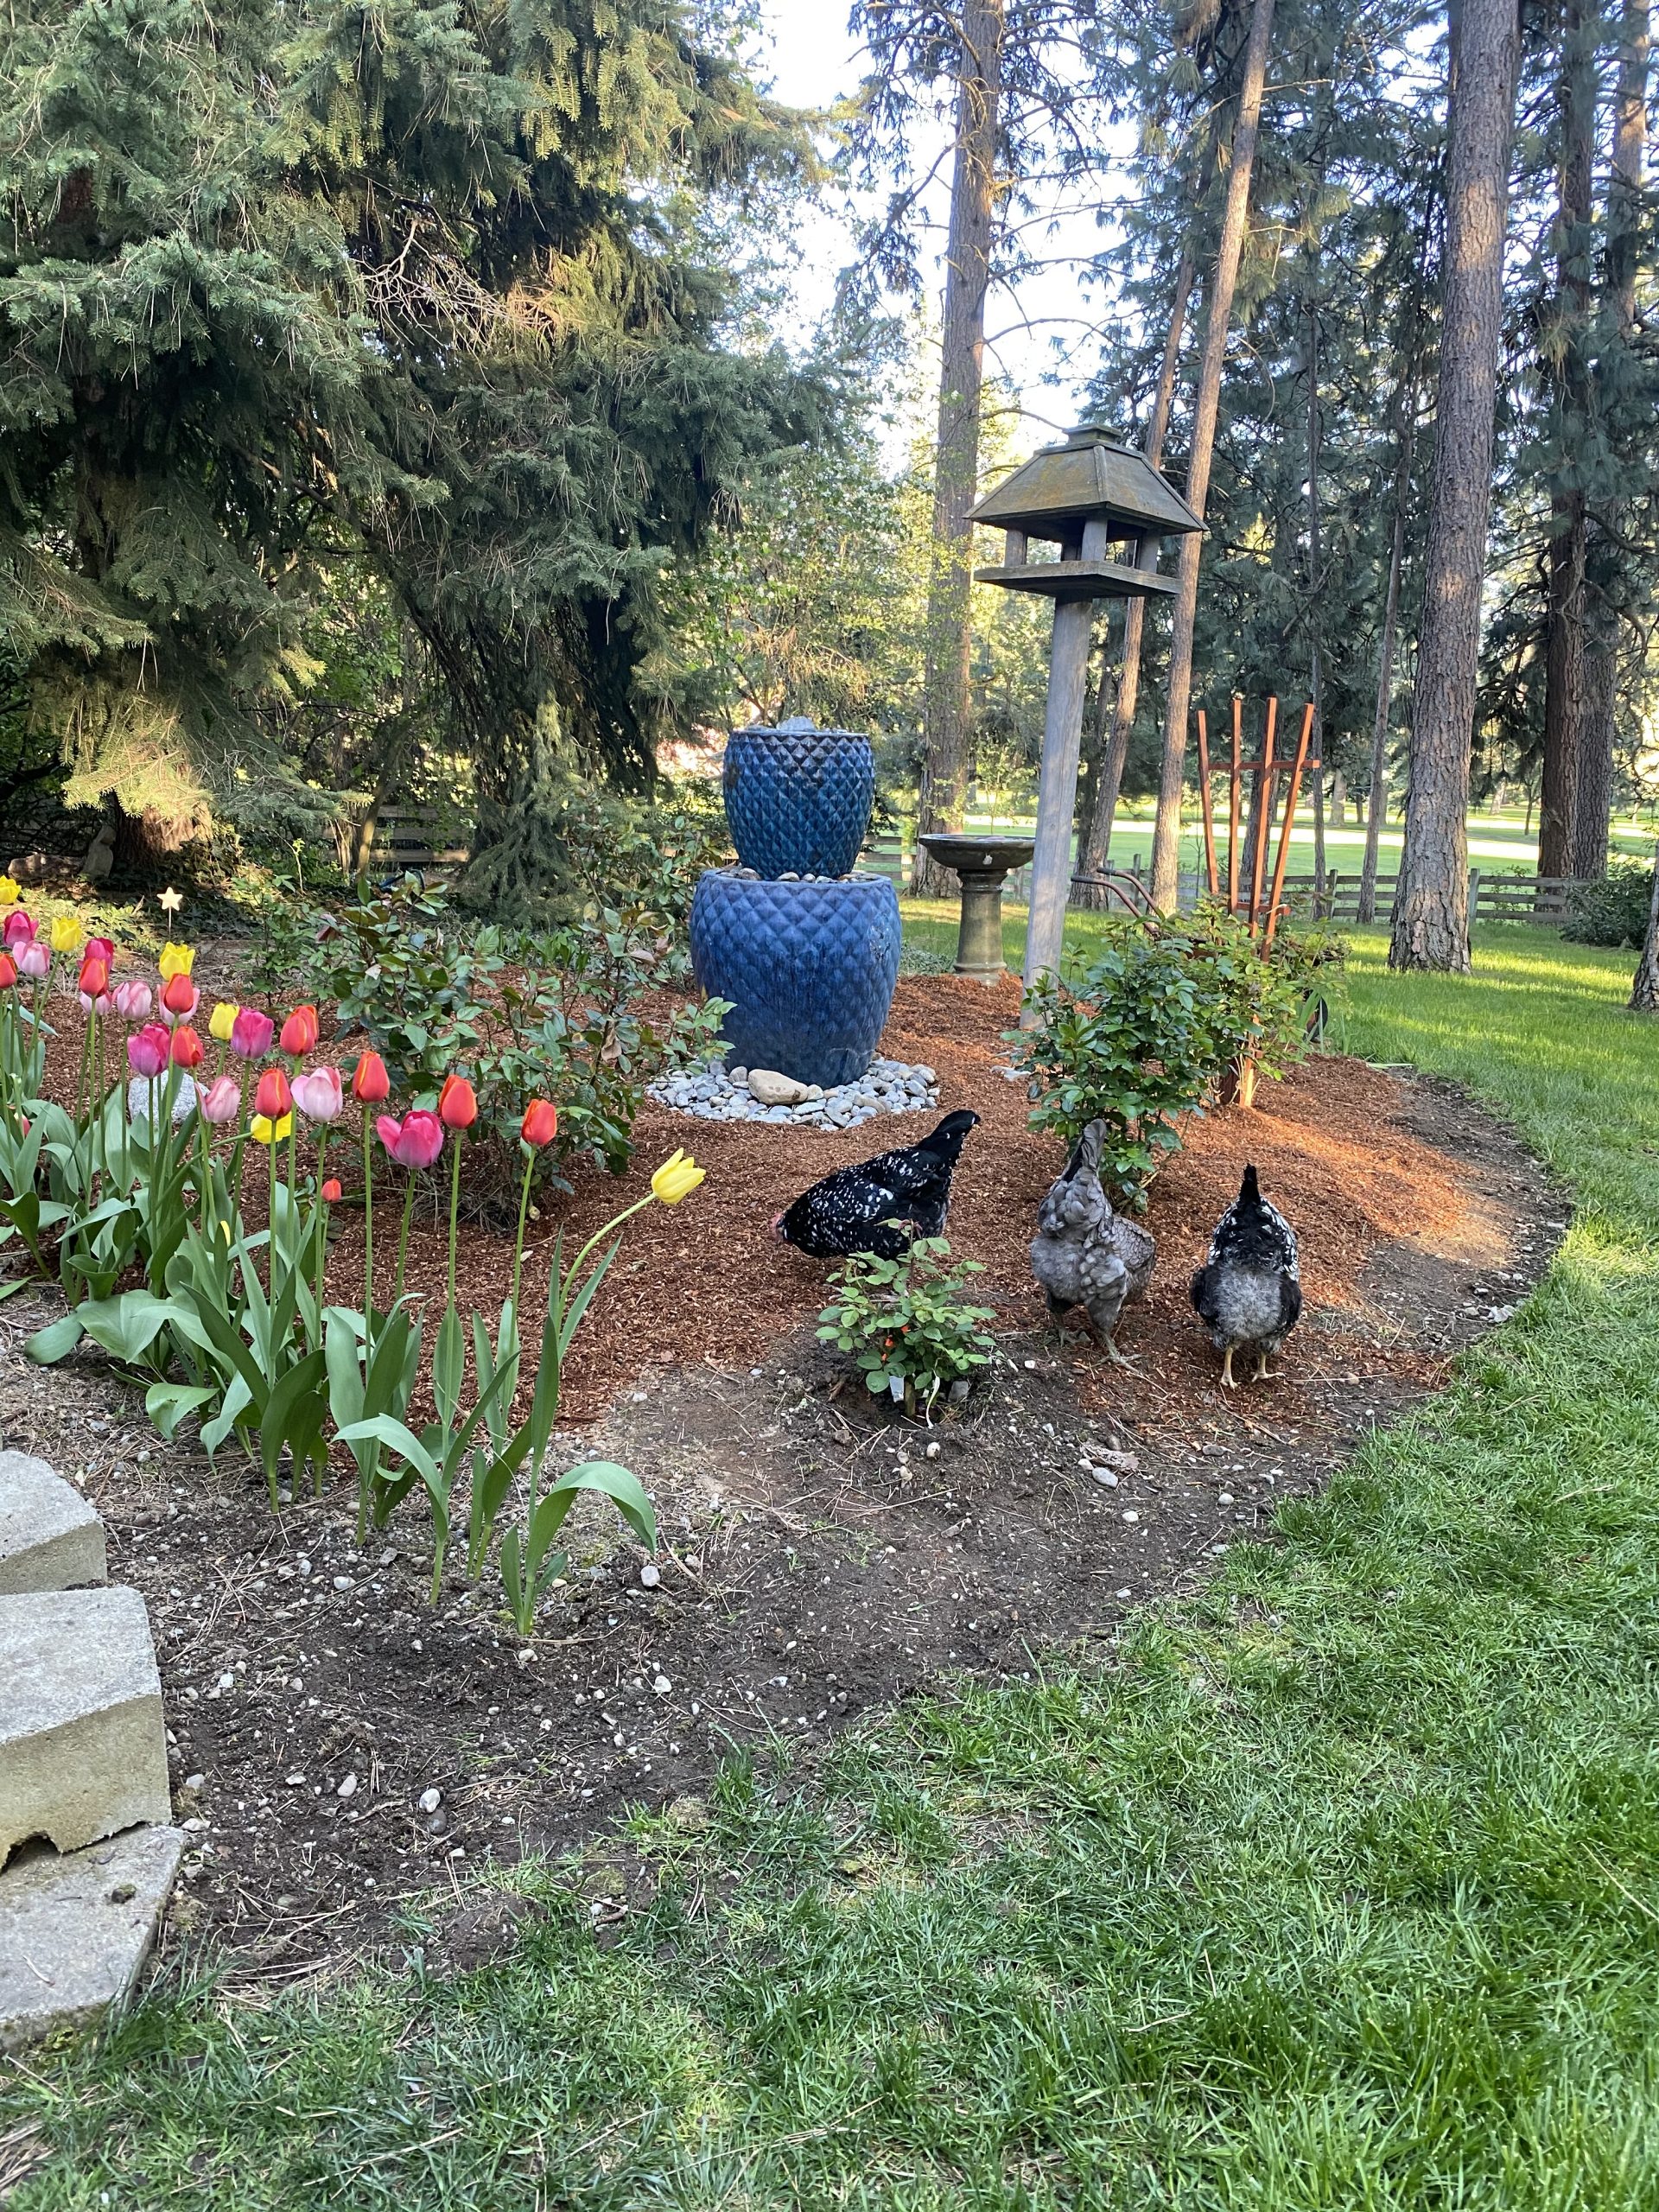
If you have an attachment for a fountain spray, connect that to the hose stub in the top pot. Add additional rocks in the top pot and finish by adding more around the bottom of the top pot. Fill both pots with water. Pray, hope for the best and turn on the pump! (We’re saying this because we did have to dismantle the whole thing one time because floating silicon got into the pump!)
We had planted the tulips last fall and are adding mulch this year. The chickens are helping to spread it.
If you live in a cold climate, you may need to dismantle the fountain and store the pieces in the garage or shed for the winter. What we chose to do instead (and we don’t recommend this but it worked) was to add a small amount of RV antifreeze, ran it for 2-3 minutes and then turned the pump off and covered it all with a large black bag with a bungee cord. This spring, we ran gallons and gallons of water through the system in order to dilute the anti-freeze so as not to harm the grass or plants. The pump ran well. Please don’t do this if you have pets or valuable plants.
LEARN TO LOVE YOUR LIFE AGAIN
 Do you feel like you need to hit the REFRESH button on your life? Download our free guide and begin to create your best life yet!


That’s so lovely Shelley! Now to convince the hubs to make one for us! Love this idea!
What a great idea and the fountain turned out beautifully!
Oh, I hope he does! You’ll love it. I want to see it when it’s finished!
Thank you! It was a fun project!